Instructions:
The instructions we followed were from the 2012 Baker Creek catalog which had a great photo excerpt of Jere Gettle's The Heirloom Life Gardener showing the steps for saving seed (in pic below). We supplemented these instructions with some from the International Seed Saving Institute.The steps below in bold are from that site interspersed with photos and comments (in italics) about our experience.
What did we want to save?
We were trying to preserve seed from our Blondkopfchen and also from our amazing "volunteer" red cherry/roma mix that appeared in our garden this year uninvited but which was beyond prolific.


Process: Cut the tomato into halves at its equator, opening the vertical cavities that contain the seeds. Gently squeeze out from the cavities the jelly-like substance that contains the seeds.

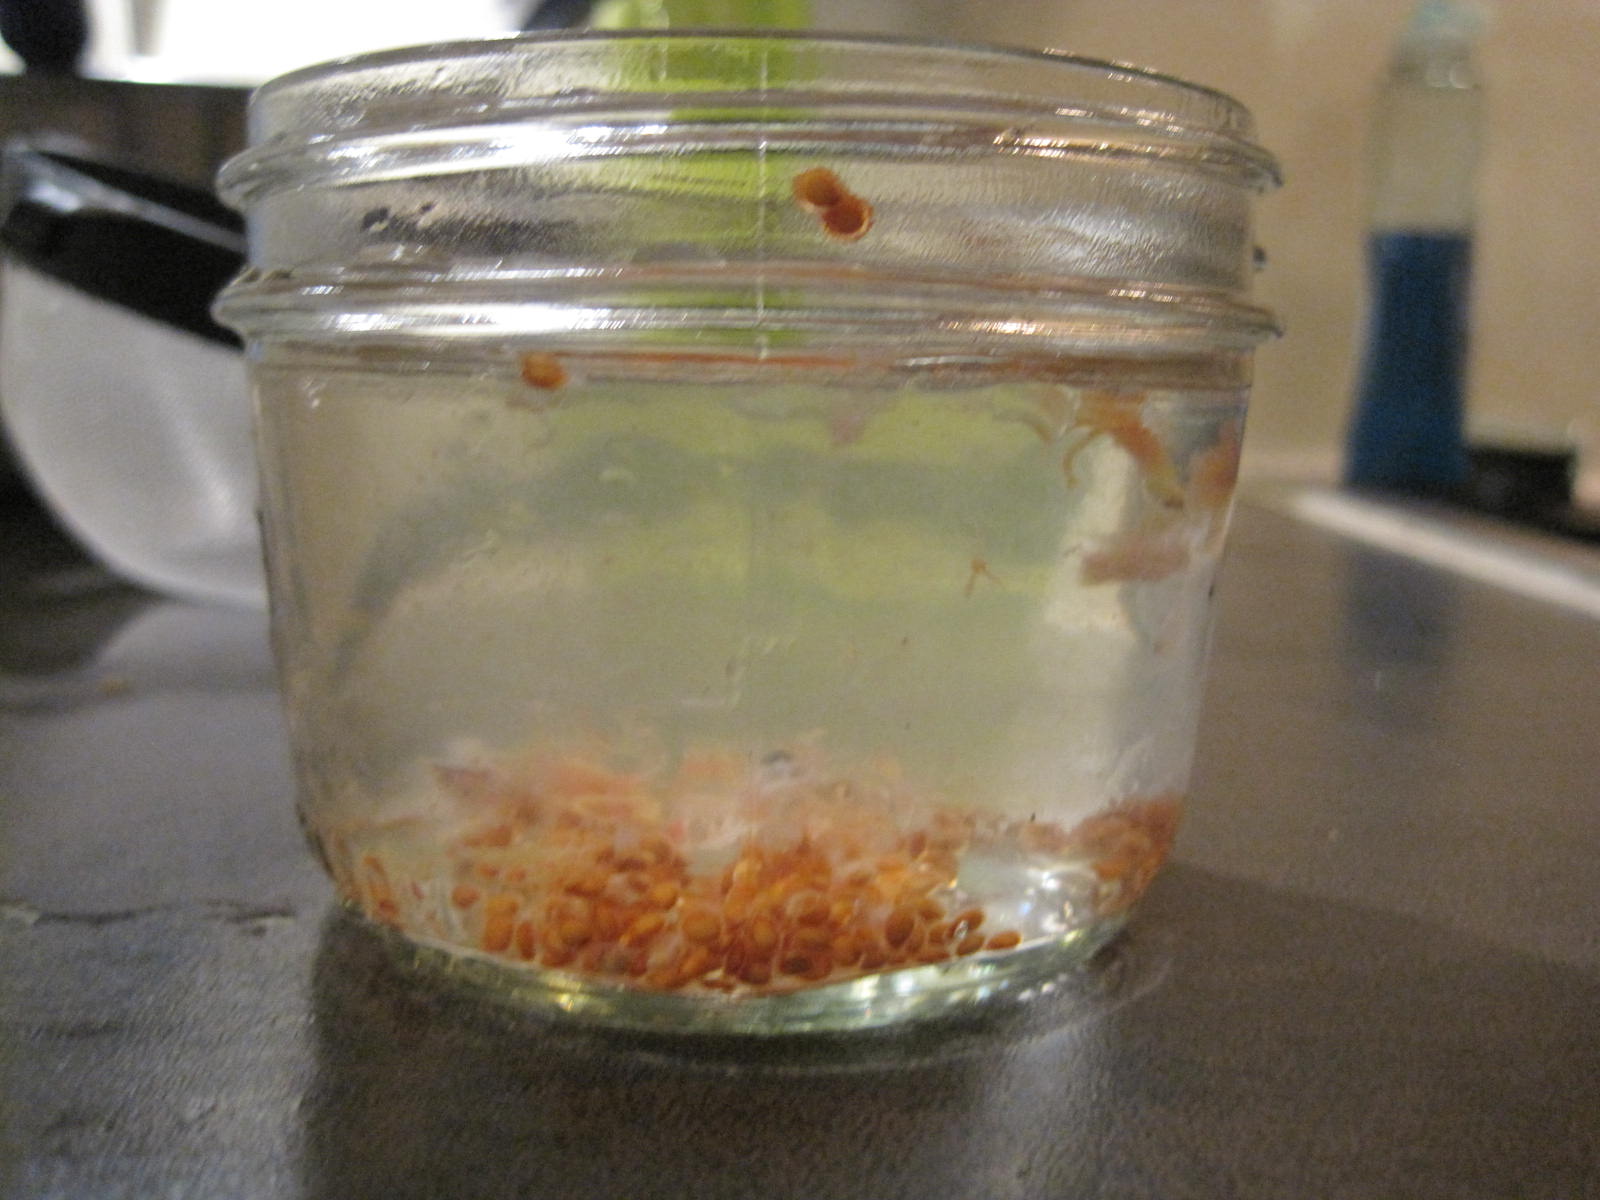
Place the jelly and seeds into a small jar or glass. (Add a little water if you are processing only one or two small tomatoes.) Loosely cover the container and place in a warm location, 60-75° F. for about three days. Stir once a day. We forgot to stir. Whoops.

A layer of fungus will begin to appear on the top of the mixture after a couple of days. This fungus not only eats the gelatinous coat that surrounds each seed and prevents germination, it also produces antibiotics that help to control seed-borne diseases like bacterial spot, canker and speck. What they didn't say was that this fungus smells really bad (kind of like moldy cheese). The red tomato had bigger pieces so it developed a fungal layer much more quickly than the smaller yellow ones.


Here they are after 4 or 5 days. We couldn't get to them right away so they may have sat longer than they should have. Again, whoops.

After three days fill the seed container with warm water.

Repeat this process until water being poured out is almost clear and clean seeds line the bottom of the container. Pour these clean seeds into a strainer that has holes smaller than the seeds. Let the excess water drip out and invert the strainer onto paper towel or piece of newspaper. We didn't have a strainer fine enough so I just poured out as much water as I could and then poured the rest through a paper towel. This worked just fine.

Allow the seeds to dry completely (usually a day or two).


Break up the clumps into individual seeds, label and store in a packet or plastic bag. I didn't realize the seeds would have a little furry coating. I took out some packet tomato seeds to compare and sure enough, they also have a furry coating. This produced a remarkable amount of seeds. We will have enough for years to come, but if we have a particularly good year with these next year I may do this process all over again to keep breeding stronger performers.


Reflections on Seed Saving:
I can't yet comment on the vitality of the seed (will follow up this summer) but the process definitely made me feel like I am contributing to the ongoing story of our planet's food legacy, particularly by saving seeds from the volunteer tomato. To be an heirloom an OP seed needs to be between 30-50 years old by most definitions but usually getting to heirloom status means that a plant worked particularly well in one part of the country for a long time. This tomato plant appeared in our garden unexpectedly but was so successful we wanted to save it to try again. In Michael Pollan's Botany of Desire terms, this plant "used" us to help it procreate by offering us something we wanted: an abundance of tasty fruit. If we are still using it in 30 years Seed Savers Exchange may even want some of them :)
Rosalind Creasy's, the author of Cooking from the Garden and quoted in the Jan/Feb 2013 issue of Urban Farm, description of what would go on SSE packets if there were space sums up my feeling nicely: "By planting the seeds in this packet, you have become a steward of our food heritage, a link in a chain that goes back thousands of years. Use his seed to grow food, but please save the seeds, share them with others and replant them again in your garden to allow the seed to adapt to your local growing conditions."

No comments:
Post a Comment